
Last updated November 17, 2026
 Driveway & pavers
 Kitchen remodeling
 Bathroom remodeling
 Home additions & ADU
 Roofing
 Windows & doors
 Fence
Free written scope consultation - allowances, timeline, and change-order rules on paper before a single trade is scheduled
Driveway & Pavers Maintenance Checklist for Fairfield Homeowners
A paver driveway that goes in during a mild Fairfield April can look tired by November, and it’s almost never the install that’s at fault. The culprit is a two-phase stress cycle most maintenance advice ignores. From May through October, valley heat bakes the surface and drives moisture out of the joint sand while daily temperature swings work on the edges. Then November arrives, the rain returns, and all that dried-out material has no give left. Water finds the gaps the summer opened. The checklist below is built around those two phases rather than a generic spring-and-fall routine. We’ll walk you through what to inspect and when, which sand actually holds up under high UV, how to catch edge failure before it spreads, and the right timing to seal in Fairfield.
Quick Answer
Maintain a Fairfield paver driveway on two clocks: a dry-season pass from May to October focused on joint sand, UV damage and edge restraint, and a wet-season pass from November to March focused on drainage, efflorescence and weed intrusion. Resand with polymeric joint sand when joints drop more than a quarter inch below the paver face, and seal only when surface and overnight temperatures sit in a moderate window, not in the peak of August heat.
Styles & brands we work with
- Kitchen remodeling
- Bathroom remodeling
- Home additions & ADU
- Roofing
- Windows & doors
- Driveway & pavers
- Fence
Table of Contents
- Why Fairfield Driveways Age Faster Than Expected
- The Dry Heat Phase: May Through October
- The Wet-Cold Phase: November Through March
- Polymeric Sand vs. Standard Jointing Sand Under High UV
- Catching Edge Restraint Failure Before Your Driveway Spreads
- When to Seal (and Why August Is the Wrong Answer)
- Brand and Material-Specific Maintenance Notes
- Your One-Page Inspection Calendar
Why Fairfield Driveways Age Faster Than Expected
Fairfield sits in a valley where summer afternoons run hot and dry, and winters are cool and wet without being severe. That combination is harder on a paver driveway than a place with a long, cold freeze or a place that never gets any rain at all. The surface bakes for six months, then gets saturated for four or five. Each material in the driveway – the pavers, the joint sand, the base, the edge restraint – expands and contracts on its own schedule. Nothing catastrophic happens. Things just loosen.
What makes it misleading is that the damage is slow and quiet. A homeowner looks at the driveway in June and it looks fine. By November the joints have dropped, a little sand has left the field, and the first heavy rain is carrying fines down into the base. It didn’t fail overnight. It failed all summer, invisibly, while nothing was done about it. The maintenance schedule that prevents this has to respect the two phases separately because the driveway is doing two completely different jobs in each one.
The other part of the story is traffic and geometry. A driveway takes turning loads from every vehicle that enters it, and the corners of a paver field take the worst of it. The apron where a car swings in, the near-edge, the gutter line – those are where the joint structure is worked hardest, and they’re where you’ll spot the first signs of movement. If you have a paver driveway and are already considering additional exterior work, our Construction Fairfield team walks through how a full exterior scope fits together, because driveway, walkway and entry materials should always be selected as one palette rather than three separate decisions.
The Dry Heat Phase: May Through October
This is the phase most maintenance guides underweight, and it’s the one that sets up everything that goes wrong in the winter. High UV and dry air pull moisture out of the joint sand and out of the surface of the pavers. The sand shrinks and settles. The paver surface can dull and, on lower-quality concrete stock, can show the beginnings of surface spalling. Meanwhile, expansive clay soils common in the Fairfield area shrink as they dry, which lets the base move a little under the field.
Run this inspection every six to eight weeks during the dry phase:
- Walk the field joints. Look across the drive at a low angle in morning light. Any joint where the sand has dropped noticeably below the chamfered edge is a resand candidate.
- Check the perimeter for movement. Stand at the driveway edge and press down firmly with your foot. Any rock or give along an edge means the restraint is losing grip.
- Look for slick or shiny patches. On concrete pavers, a slick spot in a wheel path usually means the surface has been polished by traffic or is showing early wear.
- Test drainage at the gutter line. Pour a bucket of water near the apron. It should run off the drive, not pool in a low spot.
- Sweep off grit and debris. Dust and soil from planters wash into joints and block water from moving where it should.
That fifth point is boring and important. Fine soil that collects in the joints turns into a hostile layer that keeps new sand from bonding. Get the grit off before you resand or your polymeric sand won’t hold. We’ve seen plenty of Fairfield driveways where a resand was criticized as a product failure when the real problem was sand poured over a dirty joint.
The Wet-Cold Phase: November Through March
The rain returns, and now the driveway is doing the opposite job: shedding water, or letting it pass through in the case of a permeable system. Water in the joints is normal. Water sitting under the base is not. During this phase, the inspection focus shifts from surface condition to drainage performance and structural stability.
Run this checklist after the first heavy rain of the season and again at the end of February:
- Watch where the water goes. After a good rain, walk the drive and find any standing puddle. A joint that stays wet for more than a day is choking.
- Check for weeds and moss. A weed pushing through a joint means the sand has completely left that joint, and there’s now a channel for water.
- Look for white powdery deposits. Efflorescence is a normal reaction on concrete pavers, especially after wet weather. It’s cosmetic, but persistent patches can signal moisture trapped under the surface.
- Press along the perimeter again. Restraint that held in September can fail in February once soils move with the water.
- Clear drainage swales and channel drains. Leaves and grit block the very paths water needs.
Winter is the wrong time to resand or seal. Joints are wet, and most sealants and polymeric sands need dry surface and dry subsurface to cure. Reserve the wet season for inspection and cleaning, then book the actual repair work for the spring window. If your winter inspection keeps pointing back to the same failing corner, that’s a base or restraint problem and no amount of surface product will solve it.
Polymeric Sand vs. Standard Jointing Sand Under High UV
If you resand your Fairfield driveway with plain jointing sand, expect to do it again in 12 to 18 months. Plain sand is cheap and easy, and it works – it just doesn’t survive a valley summer the way polymeric does. Under sustained UV and dry heat, plain sand dries, blows out in the wind, and washes out of any joint that gets a little water. Polymeric sand is a blend of sand and a binder that activates with water and locks the joint into a semi-flexible plug that resists washout far better.
For a Fairfield driveway, polymeric is the right default. A few things to understand before you buy a bag:
- Match the binder to the exposure. High-UV environments benefit from a polymeric product formulated for sun exposure. Ask for the manufacturer’s temperature and UV guidance, not just the color.
- Don’t overfill. Sand goes into the joint to about the paver chamfer, not above it. Sand above the face gets tracked into the house and looks wrong.
- Water it in correctly. Polymeric sand needs a gentle, even wetting to activate the binder. Too much water too quickly washes the binder away.
- Respect temperature. Most polymeric sands have a manufacturer-set temperature window for installation and cure. Slots are tighter than the plain-sand window, and installing outside the window is a leading cause of failure.
- Consider a joint sand stabilizer. Some pavers work well with a clear stabilizer applied after the joint is filled. It’s not a substitute for polymeric, but a good complement on heavier-traffic driveways.
If you’re rebuilding a driveway rather than just maintaining one, that decision is upstream of this whole guide. Our driveway & pavers work covers material selection and base construction, which sets how much maintenance the driveway will need once it’s in. Getting the base right is the single biggest lever on long-term maintenance cost.
Catching Edge Restraint Failure Before Your Driveway Spreads
Edge restraint is the most missed early warning sign on a paver driveway, and it’s the one that turns a $200 repair into a rebuild. Restraint holds the outer courses of pavers against the outward force that traffic and thermal movement create. When the restraint starts to fail, the outer pavers migrate. Once they’ve moved, the joint width changes across the whole field, and the driveway begins to spread and loosen.
Watch for these signals, in roughly this order of seriousness:
- Visible gap between pavers and edging. The pavers have slid away from the restraint, or the restraint has moved away from the pavers. Either way, it’s failing.
- Toe-test give. Standing at the edge, pressing down on the outermost course should not produce any movement. If it does, the restraint has lost its grip.
- Widening joints near the perimeter. Compare a joint near the edge to a joint near the center. If the edge joints are noticeably wider, spreading has started.
- Sand loss at the apron. The end of the driveway takes the most water and turning force. Heavy sand loss there is often restraint-related.
- Diagonal cracks in the field. Once local spreading has gone far enough, joint misalignment produces stress lines through the field.
The fix depends on the type of restraint. Edging spikes can sometimes be reset and re-anchored. A concrete curb behind the pavers is more durable but harder to correct once it’s failed. Either way, this is the point at which a homeowner should stop and get eyes on the driveway rather than pour in more sand. Sand poured into a spreading field hides the symptom while the geometry gets worse.
When to Seal (and Why August Is the Wrong Answer)
Sealing protects the pavers from UV and helps hold the joint sand, and it’s genuinely useful in Fairfield. But sealing timing matters more here than in most markets. August is exactly the wrong month. Sealing in high heat causes the product to flash off too quickly, cure unevenly and bond poorly, and it traps moisture that the pavers need to release. It also makes the surface slippery if a heavier coat goes on.
The better windows in Fairfield are spring (roughly late March into May once the wet season has genuinely ended) and early fall (late September into October once peak heat has broken). Both windows give you moderate temperatures, a dry surface and dry subsurface, and a reasonable cure period before the next wet season. Every product has its own printed temperature range, and you should follow it – not the forecast.
- Test moisture first. Tape a plastic sheet over the driveway overnight. Condensation under the sheet means the surface is still holding moisture. Wait.
- Fix restraint and joints before sealing. Sealing over a failing field just locks in the failure.
- Clean thoroughly. Pressure-wash at a controlled pressure, let the surface fully dry, and re-check joint sand levels before the sealer goes down.
- Apply light coats. Two thin coats perform better than one heavy coat in this climate.
- Respect cure time. Most sealers need the surface kept dry for a period after application. Check the manufacturer’s schedule and around it, not through it.
Brand and Material-Specific Maintenance Notes
Not every paver needs the same care. We install hardscape materials from established paver manufacturers – Belgard, Unilock, Tremron, Techo-Bloc and Cambridge Pavers – and the maintenance differences between product families are real.
Concrete Pavers
Concrete pavers, including most of the Belgard and Techo-Bloc lines we install, are the most forgiving and the most maintenance-friendly. They can take a standard polymeric sand joint, a quality sealer and routine pressure-washing. Watch for efflorescence in the wet season – it’s cosmetic and normally fades with time and cleaning. The one concrete-specific warning: repeated pressure-washing at excessive pressure erodes the surface layer. Keep pressure moderate and don’t chase every stain.
Natural Stone
Natural stone pavers, like travertine, bluestone or granite, want a different approach. They don’t take polymeric sand as cleanly because stone varies in joint geometry and porosity, and they benefit from a stone-specific sealer. Natural stone is more sensitive to acidic cleaners. Match the cleaner to the stone type and skip anything labeled for concrete.
Permeable Paver Systems
Permeable pavers are engineered to let water pass through the surface into a graded stone base. The whole point of the system is the open joint and the drainage layer under it. That means the maintenance priority flips: vacuum the joints rather than fill them, keep fine sand and soil out of the system, and reset the joint aggregate only with the aggregate the system calls for. Never seal a permeable driveway – sealing defeats the entire design.
If you’re comparing material options and want the durability conversation to run in parallel with other exterior projects, our home additions & ADU team is often planning driveway, walkway and fence work at the same time as an addition, and it’s smarter to sequence that scope together than to rebuild the same corner twice.
Your One-Page Inspection Calendar
Pin this to the garage wall. It’s the whole guide condensed into a working schedule for a Fairfield driveway.
- Late March to April: Post-winter inspection. Check restraint, joints and drainage. Book spring resand and reseal work. Clean any winter debris.
- May: Pre-summer inspection. Full joint sand check, sweep grit, confirm drainage works. Do the plastic sheet moisture test before any sealing decision.
- June to August: Surface watch. Walk the field every six to eight weeks in low morning light. Watch for joint drop, slick wheel paths, weed intrusion. Do not seal in peak heat.
- September to October: Pre-wet-season inspection. Repair restraint, resand worn joints, apply sealer inside the fall window, clear drainage paths. This is the pass that buys you a quiet winter.
- November: First heavy rain follow-up. Look for standing water and check perimeter again once the ground is wet.
- December to February: Clearing and inspection only. Remove leaves and grit, keep drains clear, don’t start new resand or seal work.
If you follow nothing else in this guide, follow the September-October pass. That’s the one that turns a two-phase stress cycle back into a stable driveway before the wet season starts working on it.
Common Mistakes to Avoid
- Resanding over a dirty joint. Polymeric sand needs a clean, dry joint to bond. Grit and soil left in the joint is one of the top causes of a resand that fails within a single season. Sweep and blow out the joints first, every time.
- Sealing in August. The heat is a trap. Sealer flashes off, cures unevenly, and traps moisture. Fairfield’s better sealing windows are spring and early fall.
- Ignoring edge restraint until the pavers move. A toe-test at the perimeter takes seconds and catches failure a season early. Once the field has spread, the repair is no longer a spot fix.
- Over-washing with a pressure washer. High pressure strips the surface layer of concrete pavers, blows joint sand out of the field and dulls natural stone. Moderate pressure, proper cleaner, patient passes.
- Sealing a permeable driveway. A permeable paver system is designed to let water through. Sealing it defeats the design and creates standing water. Vacuum joints, don’t fill them.
- Treating efflorescence as failure. White deposits on concrete pavers in the wet season are usually cosmetic. It fades with time and cleaning. Don’t grind or aggressively acid-wash the surface chasing it.
- Resanding in winter. Cold, wet joints mean polymeric sand won’t activate and cure correctly. Book the work for spring rather than fighting the weather.
See the difference
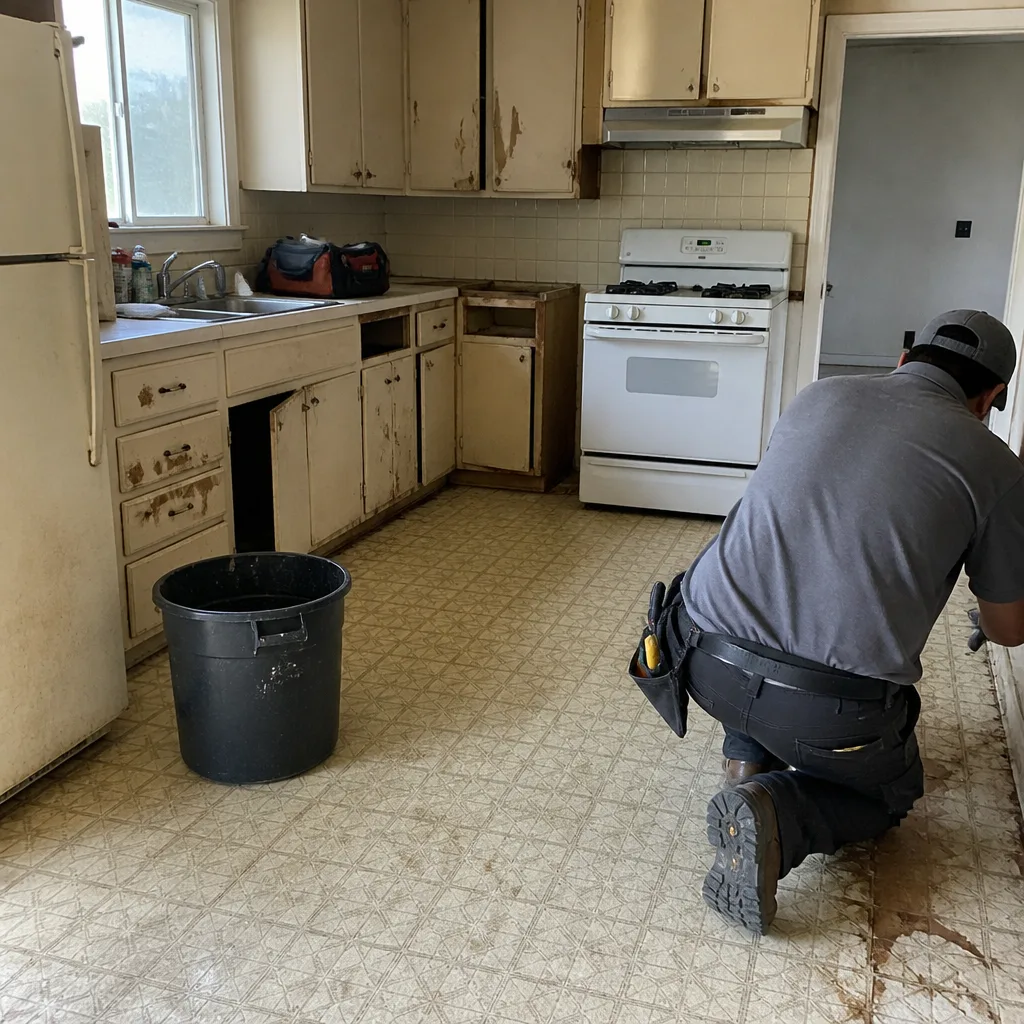 Before
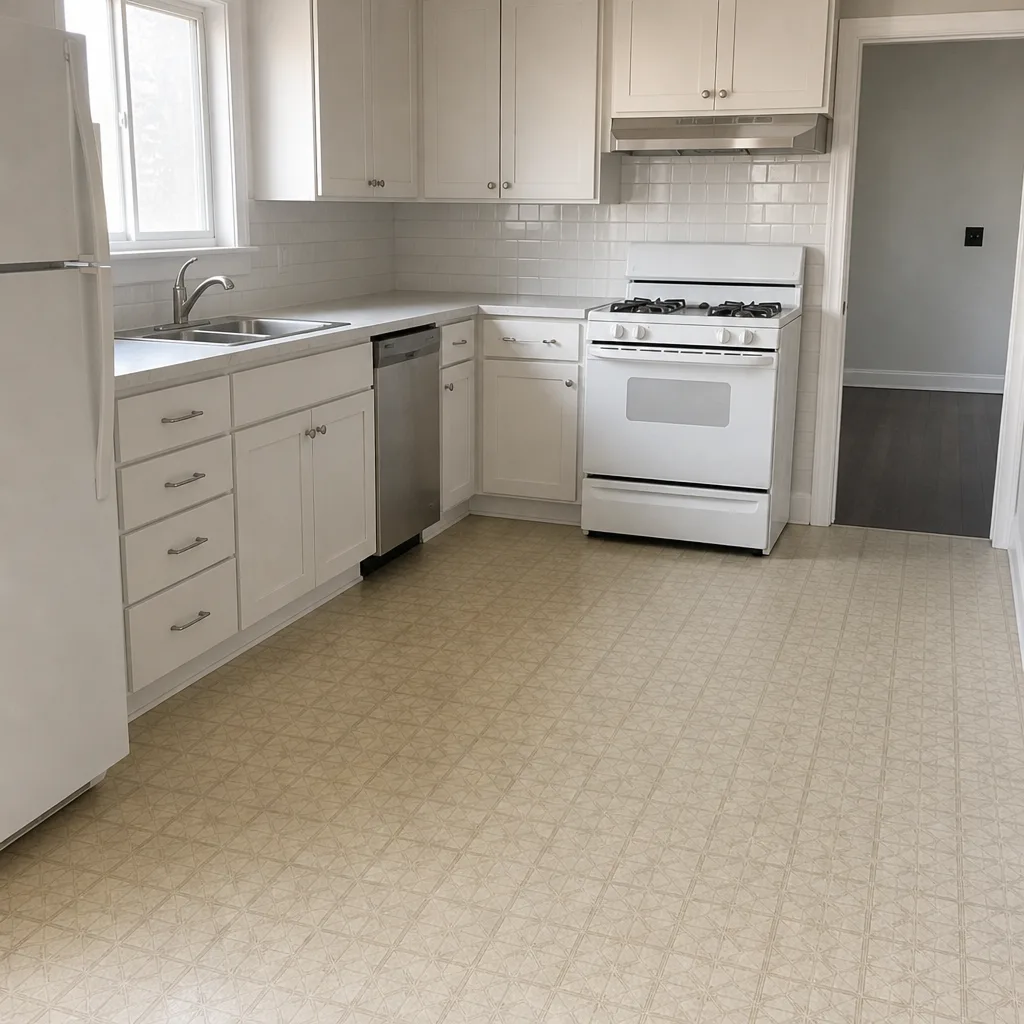 After
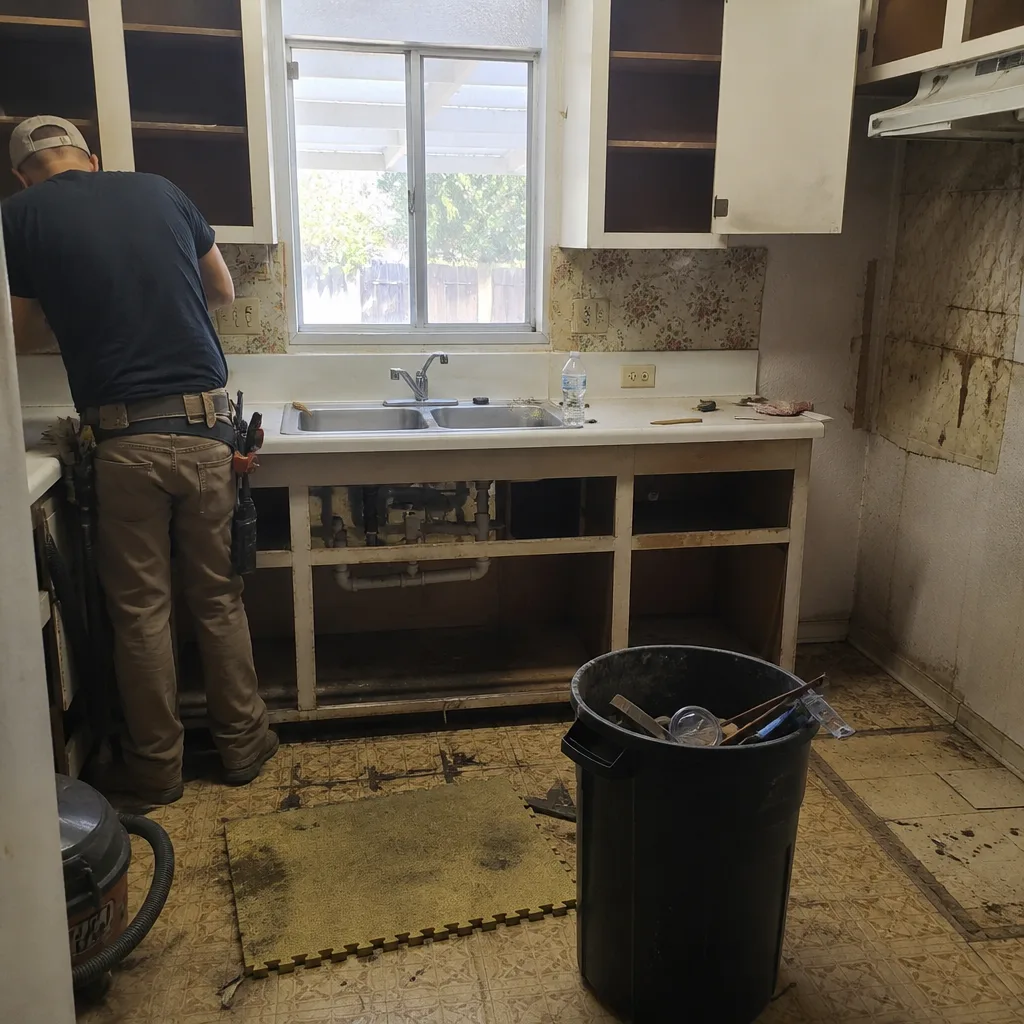 Before
 After
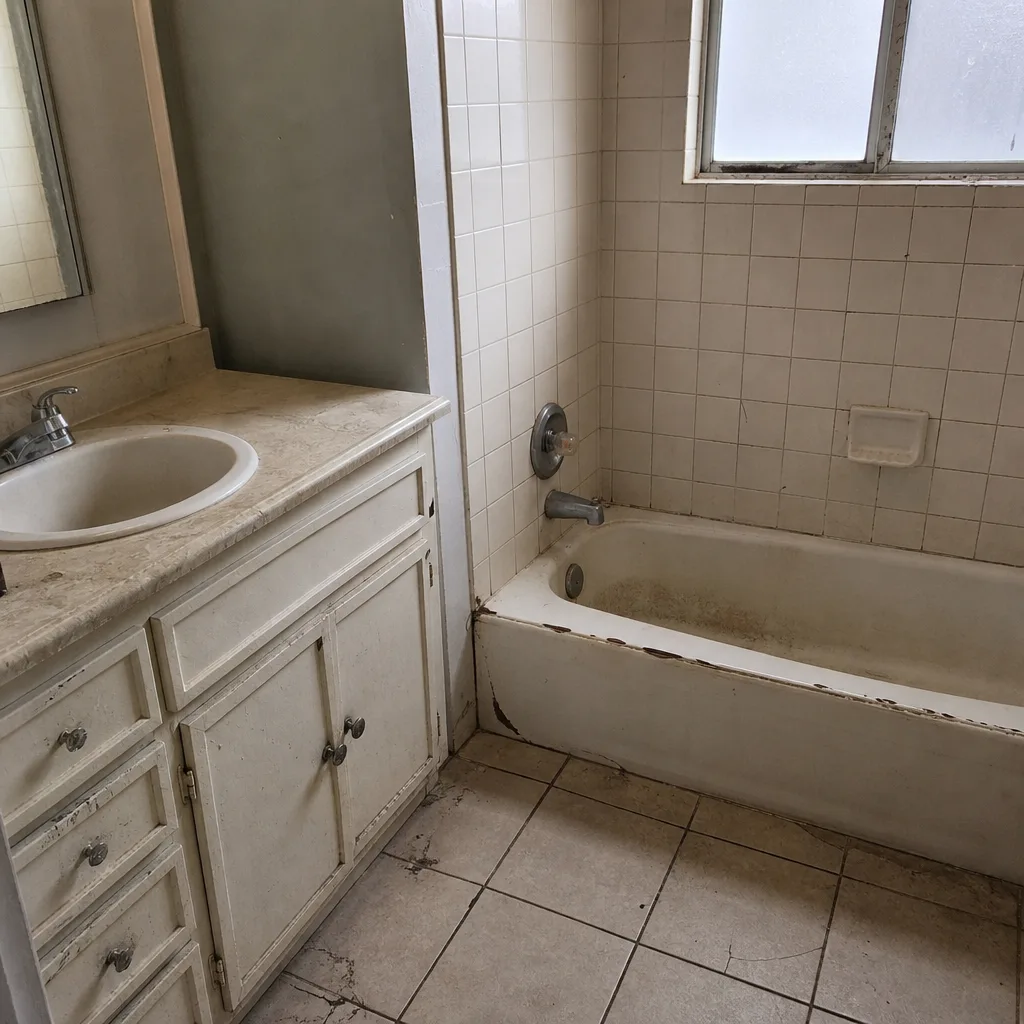 Before
 After
When to Call a Professional
Most of this checklist is homeowner work: sweeping, inspecting, clearing, spotting. Call a professional when the driveway stops being a maintenance question and becomes a construction one. That means edge restraint that’s visibly moving, joints that keep washing out after a careful resand, standing water that won’t clear a day after rain, or a field that has started to spread. Those are base or structural signals, and no bag of sand solves them. Also call if you’re at the end of a resand cycle and want an honest read on whether the driveway needs a proper reseal or a rebuild.
Construction Fairfield offers free estimates in Fairfield – call (888) 282-0741. Our technicians have up to 14 years of experience reading exactly this kind of driveway failure, and we’ll walk you through whether you’re looking at maintenance, a repair, or a rebuild before you spend a dollar. We answer 24/7.
Frequently Asked Questions
Plan on a full resand every two to three years with polymeric sand, and spot-fill sooner in high-traffic zones like the apron and wheel paths. The dry-season inspection tells you when the actual need arrives: once joints drop visibly below the paver chamfer across more than a small patch, don’t wait for the calendar. Call (888) 282-0741 for an exact quote – estimates are free.
Not in peak summer heat. August is the wrong time in Fairfield because sealer flashes off too fast and cures unevenly. Aim for late March to May or late September to October, when temperatures sit in a moderate range and the surface is reliably dry. Call (888) 282-0741 to book a sealing window before the fall rains.
Polymeric sand contains a binder that activates with water and locks the joint into a semi-flexible plug that resists washout and UV. Plain jointing sand is cheaper and dries out faster under sustained sun, typically needing replacement every 12 to 18 months in a Fairfield summer. For a driveway taking regular traffic, polymeric is the right default. Call (888) 282-0741 to talk through the right product for your paver type.
Press down firmly on the outermost course of pavers with your foot. Any give at all, or a visible gap opening between pavers and edging, means the restraint has lost grip. Catch it at that stage and it’s a spot repair. Catch it after the field has spread and it’s a bigger job. Call (888) 282-0741 for a free look before more sand goes in.
Efflorescence is a cosmetic white deposit that shows up on concrete pavers, especially after wet weather in Fairfield. It’s normal, it doesn’t damage the paver, and it usually fades with time and cleaning. Persistent patches can point to moisture trapped under the surface, which is worth a look. Call (888) 282-0741 if it keeps coming back.
No. Permeable systems are designed to let water pass through the open joints into a stone base, so you vacuum the joints instead of filling them, and you never seal the surface. Keeping fine sand and soil out of the system matters more than joint appearance. Call (888) 282-0741 if you’re unsure what product your driveway needs.
The Bottom Line
Fairfield’s two-phase stress cycle – hot and dry from May to October, cool and wet from November to March – is what sets the maintenance schedule for a paver driveway here. Handle each phase for what it actually stresses. Dry season is joint sand, UV and restraint. Wet season is drainage, weeds and structural watch. Resand with polymeric when joints drop. Test edge restraint with your foot. Seal in spring or early fall, never at the peak of summer heat. And if the driveway starts spreading, get eyes on it before a spot repair becomes a rebuild. Follow that rhythm and a correctly installed driveway in Fairfield will stay tight for years.
If you want a professional read on your driveway, or you’re planning a driveway along with a fence, addition, or other exterior work, our fence installation and hardscape teams sequence that scope together so you’re not rebuilding the same corner twice. One contractor, start to finish.
Call (888) 282-0741 for a free estimate. We answer 24/7. Fast dispatch from 7am to 7pm, Sunday through Friday.
Written by the team at Construction Fairfield.